¶ Main Information
This page contains settings where you can add and change basic information about your restaurant.
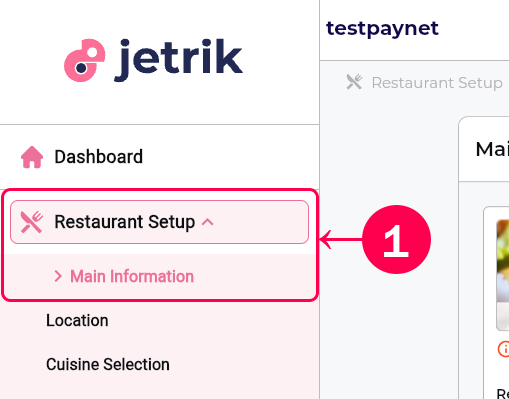
- You can open the Main Information page by opening the Restaurant Setup drop-down menu from the left-hand Sidebar.
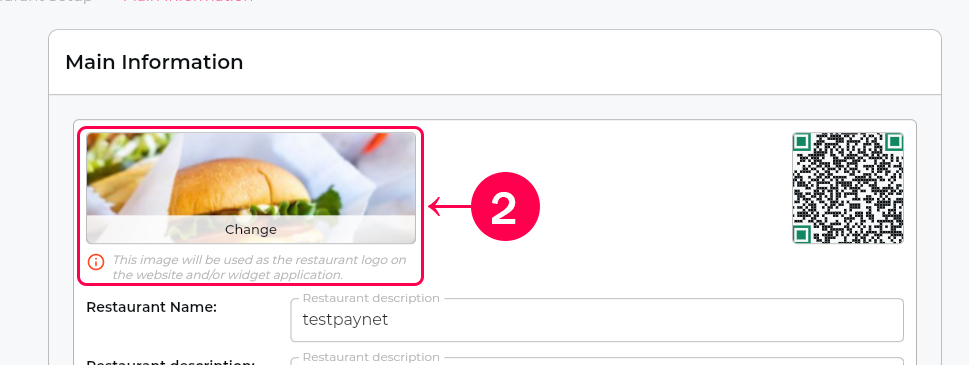
- Click on the button indicated in the image to select/change the restaurant logo. It will direct you to select an image from your device.
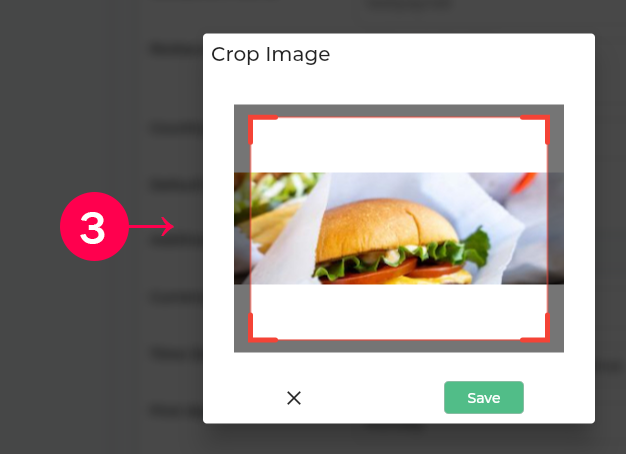
- After selecting the image, a pop-up will open for you to crop the image to the specified dimensions. After the image cropping process is completed, your logo will be selected to be saved. (* Don't forget to click the "Save" button at the bottom of the page for the changes to be saved. ** This image will be used as the restaurant logo for your website and/or QR application).
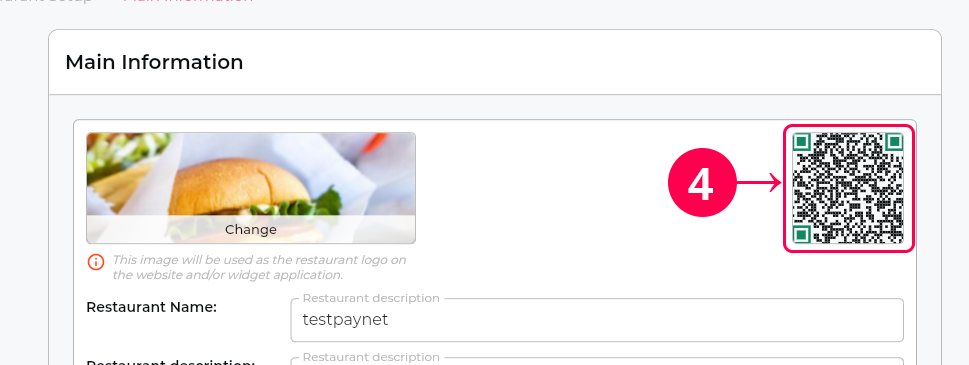
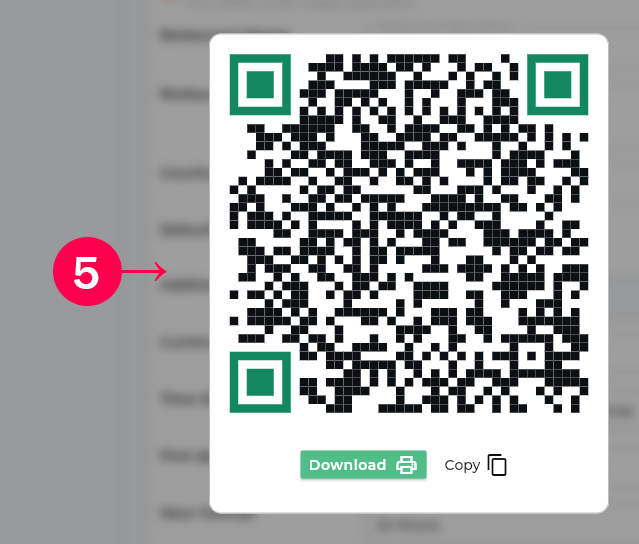
- Restaurant QR Code: Click on the QR button to open the QR Code.
- In the pop-up that opens, you can scan your QR code, print it, or copy the QR link.
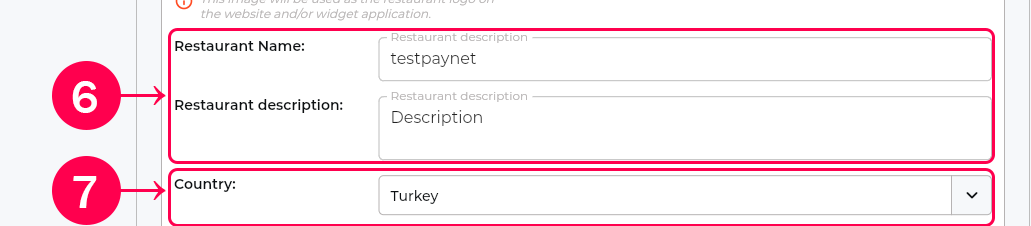
- In this section, you can change the name and description of your restaurant. (* Don't forget to click the "Save" button at the bottom of the page for the changes to take effect.)
- From this section, you can select/change the country your restaurant serves. (* Don't forget to click the "Save" button at the bottom of the page for the changes to take effect.)
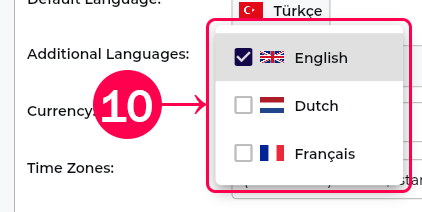
- Language settings. There are 2 sections here. Default Language and Additional Languages. The default language is the language you selected when registering.
- If you want to add another language, click the green plus (+) button to open the selectable languages menu.
- In the pop-up that opens, you can add or remove any of the selectable languages. (* Don't forget to click the "Save" button at the bottom of the page for the changes to be saved.)
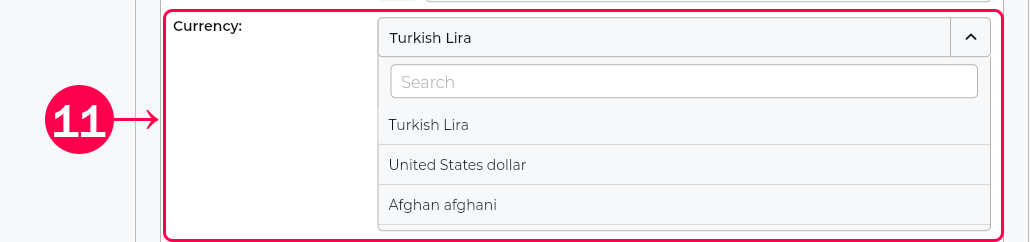
- From this section, you can set the currency used by your restaurant. You can access other currencies by searching or scrolling. (* Don't forget to click the "Save" button at the bottom of the page for the changes to take effect.)
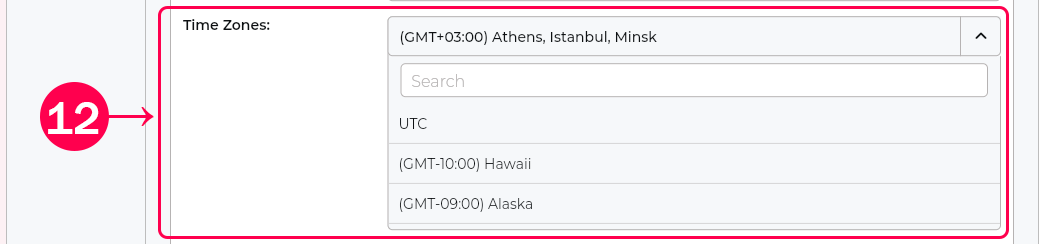
- From this section, you can set the time zone your restaurant uses. You can reach other time zones by searching or scrolling. (* Don't forget to click the "Save" button at the bottom of the page for the changes to be saved.)
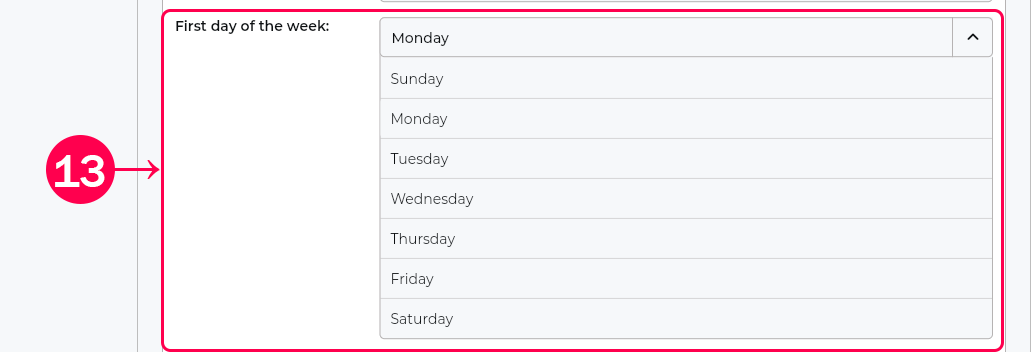
- From this section, you can set the weekday in the region where your restaurant operates. (* Don't forget to click the "Save" button at the bottom of the page for the changes to take effect.)
- From this section, you can set the time format (12/24) for your restaurant. (* Don't forget to click the "Save" button at the bottom of the page for the changes to take effect.)
- In this section, you can add a contact phone number for your restaurant. (* Second phone number is optional. Don't forget to click the "Save" button at the bottom of the page for the changes to be saved.)
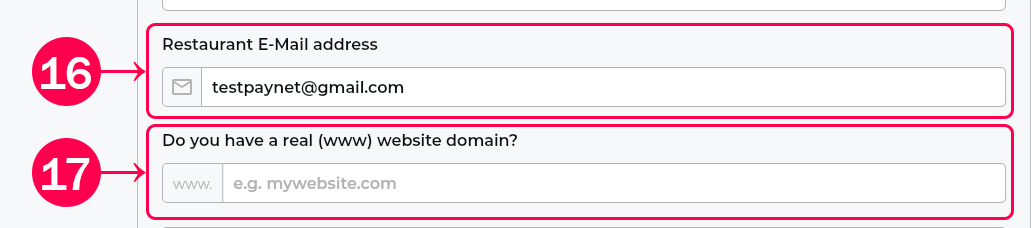
- In this section, you can add a contact email for your restaurant. (* Don't forget to click the "Save" button at the bottom of the page for the changes to be saved.)
- From this section, you can add your website (if you have one). (* Don't forget to click the "Save" button at the bottom of the page to save the changes.)
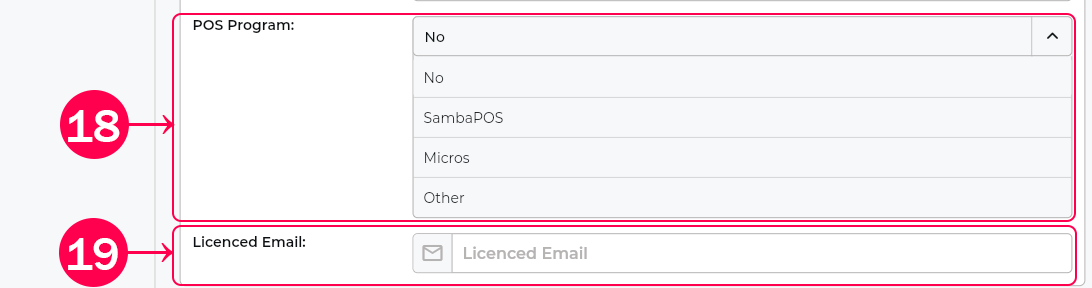
- If you have a POS program you use, you can select it here. (* Don't forget to click the "Save" button at the bottom of the page to save the changes.)
- If you selected SambaPOS as the POS Program, you will need to enter the License Email. (* Don't forget to click the "Save" button at the bottom of the page to save the changes.)
- Auto Accept: This key determines whether your Orders will be automatically accepted or not. Auto Accept off/on. (* Don't forget to click the "Save" button at the bottom of the page to save the changes.)
- KDS (Kitchen Display System): You can determine whether you are using KDS with this switch. If you turn the switch on and save it, a page will appear where you can make your KDS settings. You can make the necessary settings from there. (* Don't forget to click the "Save" button at the bottom of the page to save the changes.)
- Google Analytics Code: If you use Google Analytics, you can enter your code here. (* Don't forget to click the "Save" button at the bottom of the page to save the changes.)
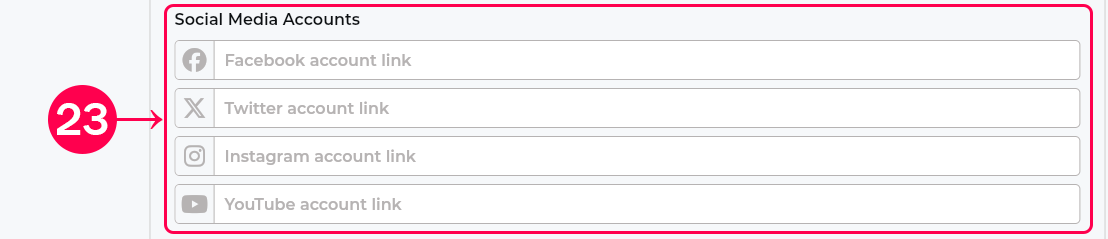
- Social Media Accounts: You can add your social media accounts link from this section. Your social media accounts appear as a button in the footer on the website. (* Don't forget to click the "Save" button at the bottom of the page to save the changes.)